Basic principles of laying ceramic rooftiles
Prior to laying rooftiles, a waterproof substrate should be laid first, using vapor-permeable foil or - if sloping or climatic conditions at the construction site dictate otherwise - a full formwork covered with tar paper.
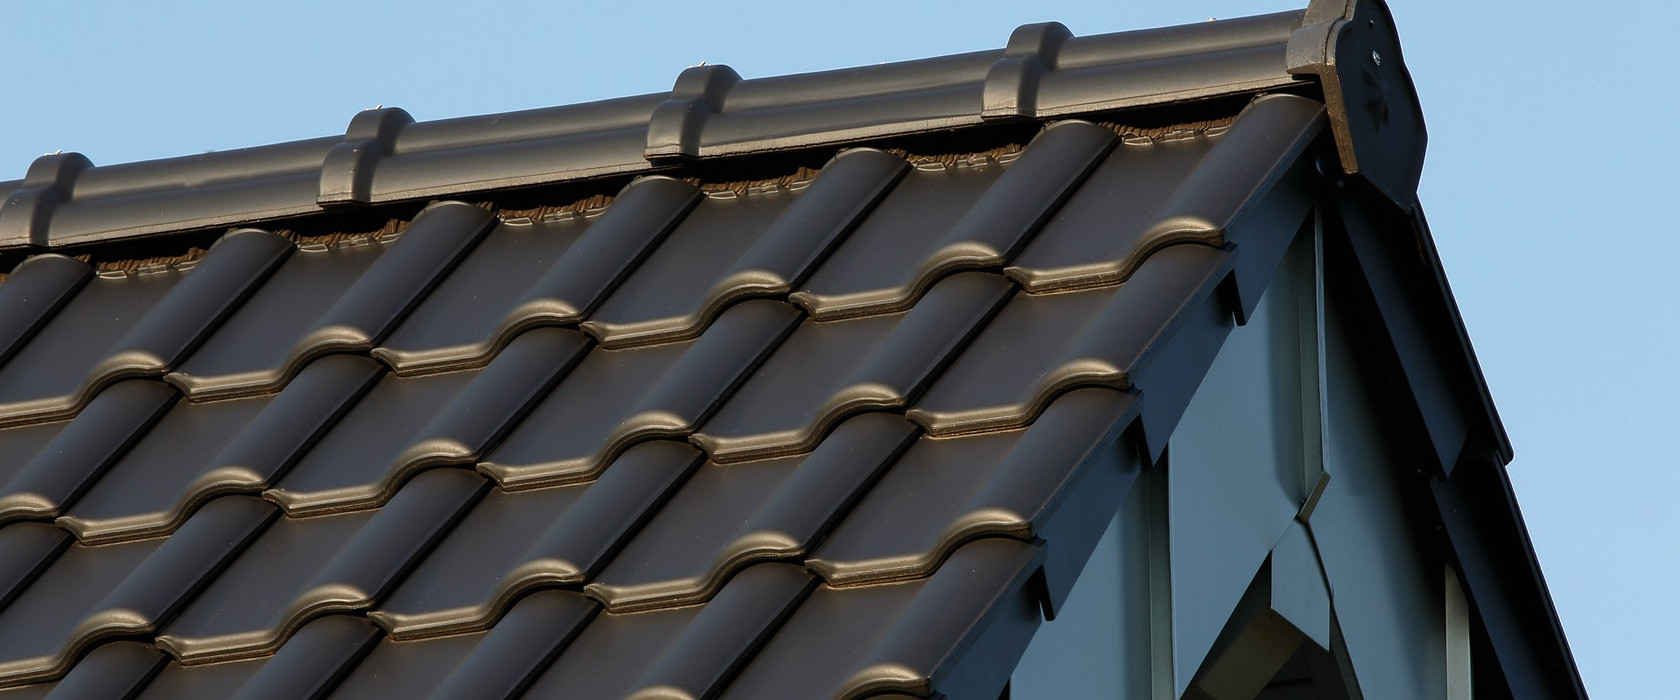
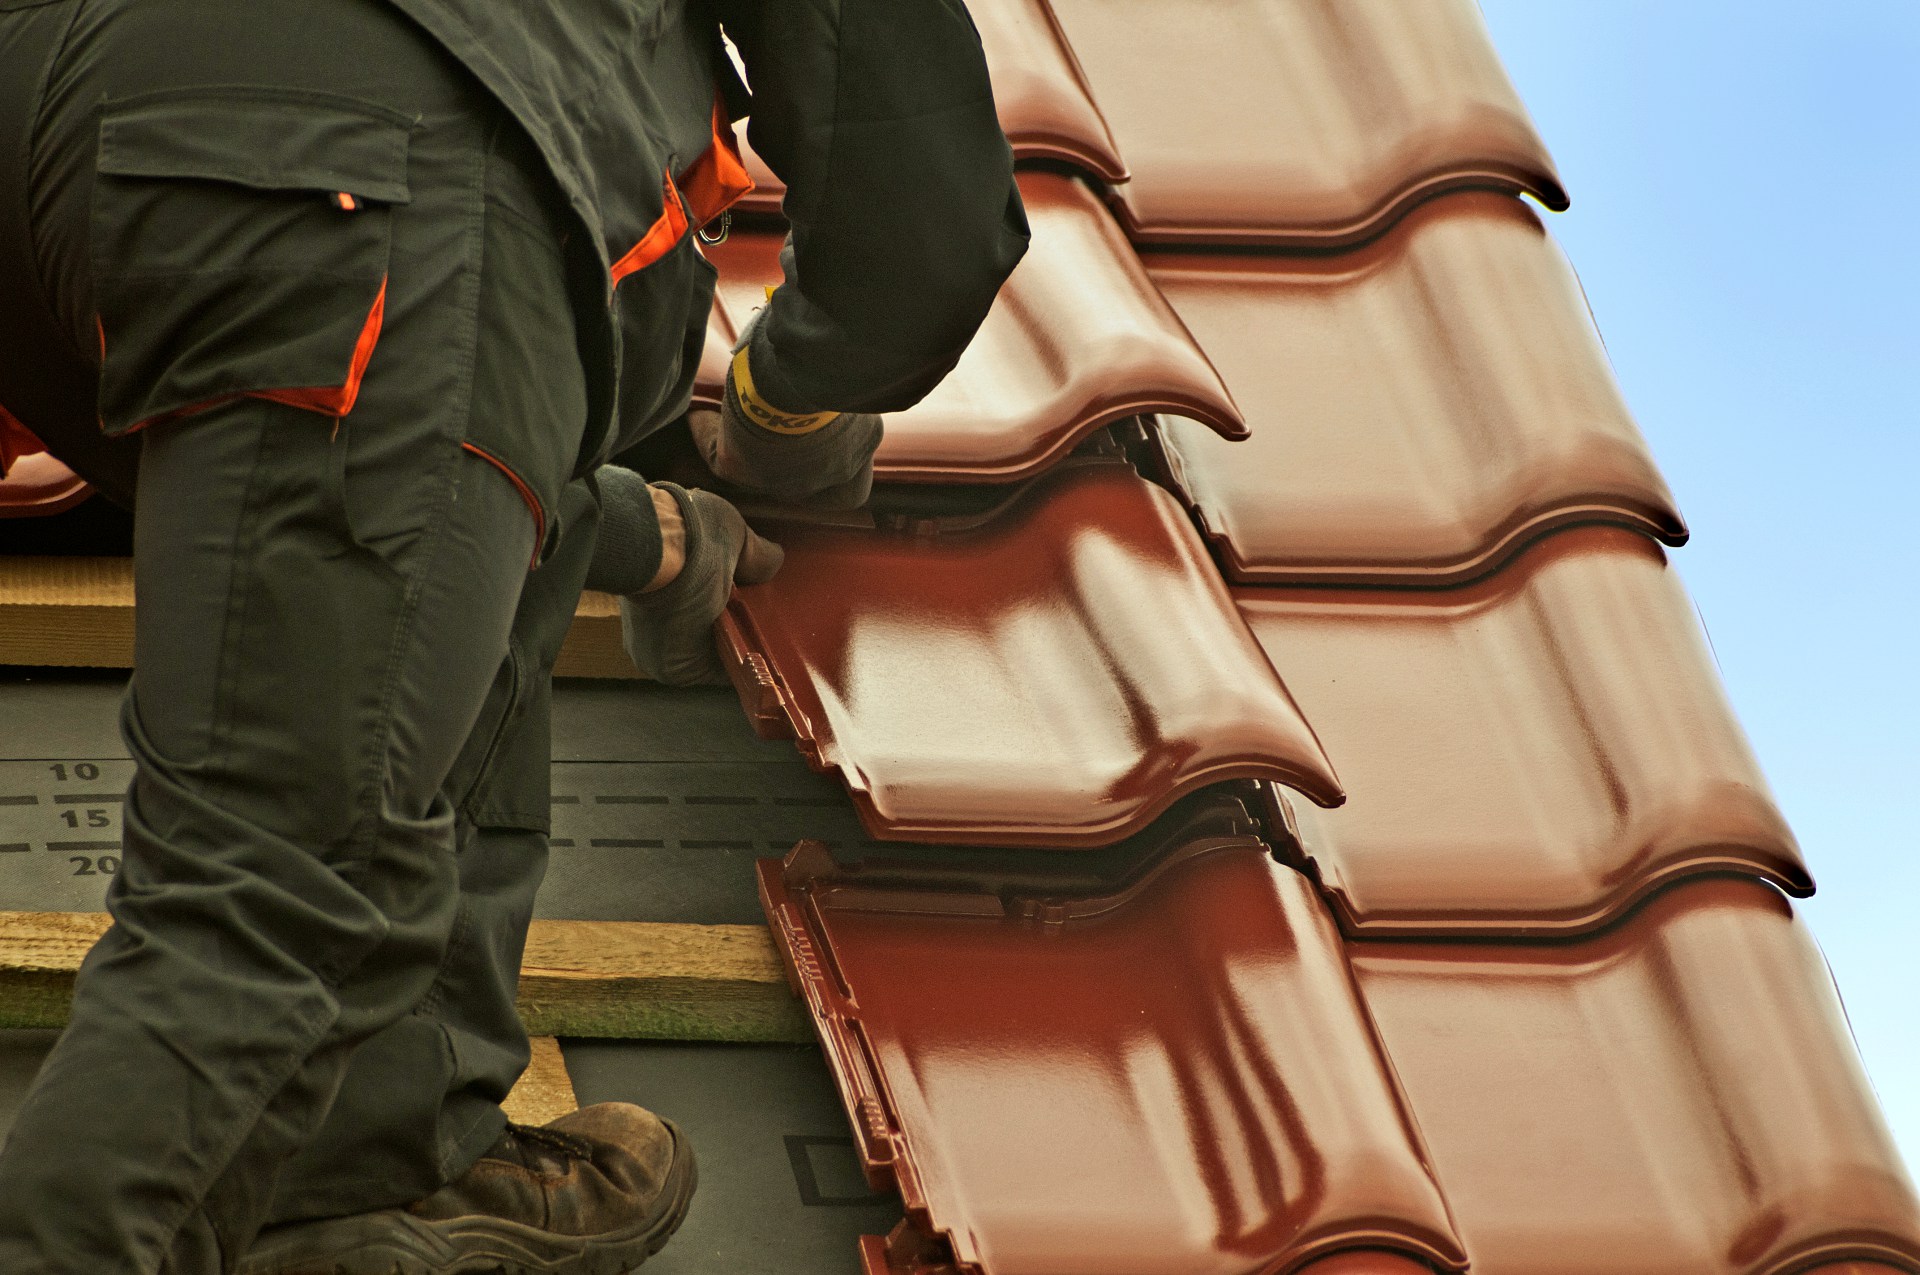
On a thus prepared roof, counters and patches are fixed. The spacing of patches should be measured for a particular tile type, as recommended by the manufacturer. Once the patches, the eaves combs and the flashings and gutters have fixed, the tiles can be laid. Rooftiles are laid from the eaves up. For additional stability of the roofing and protection against strong winds, it is recommended to clamp every third tile on the diagonal.
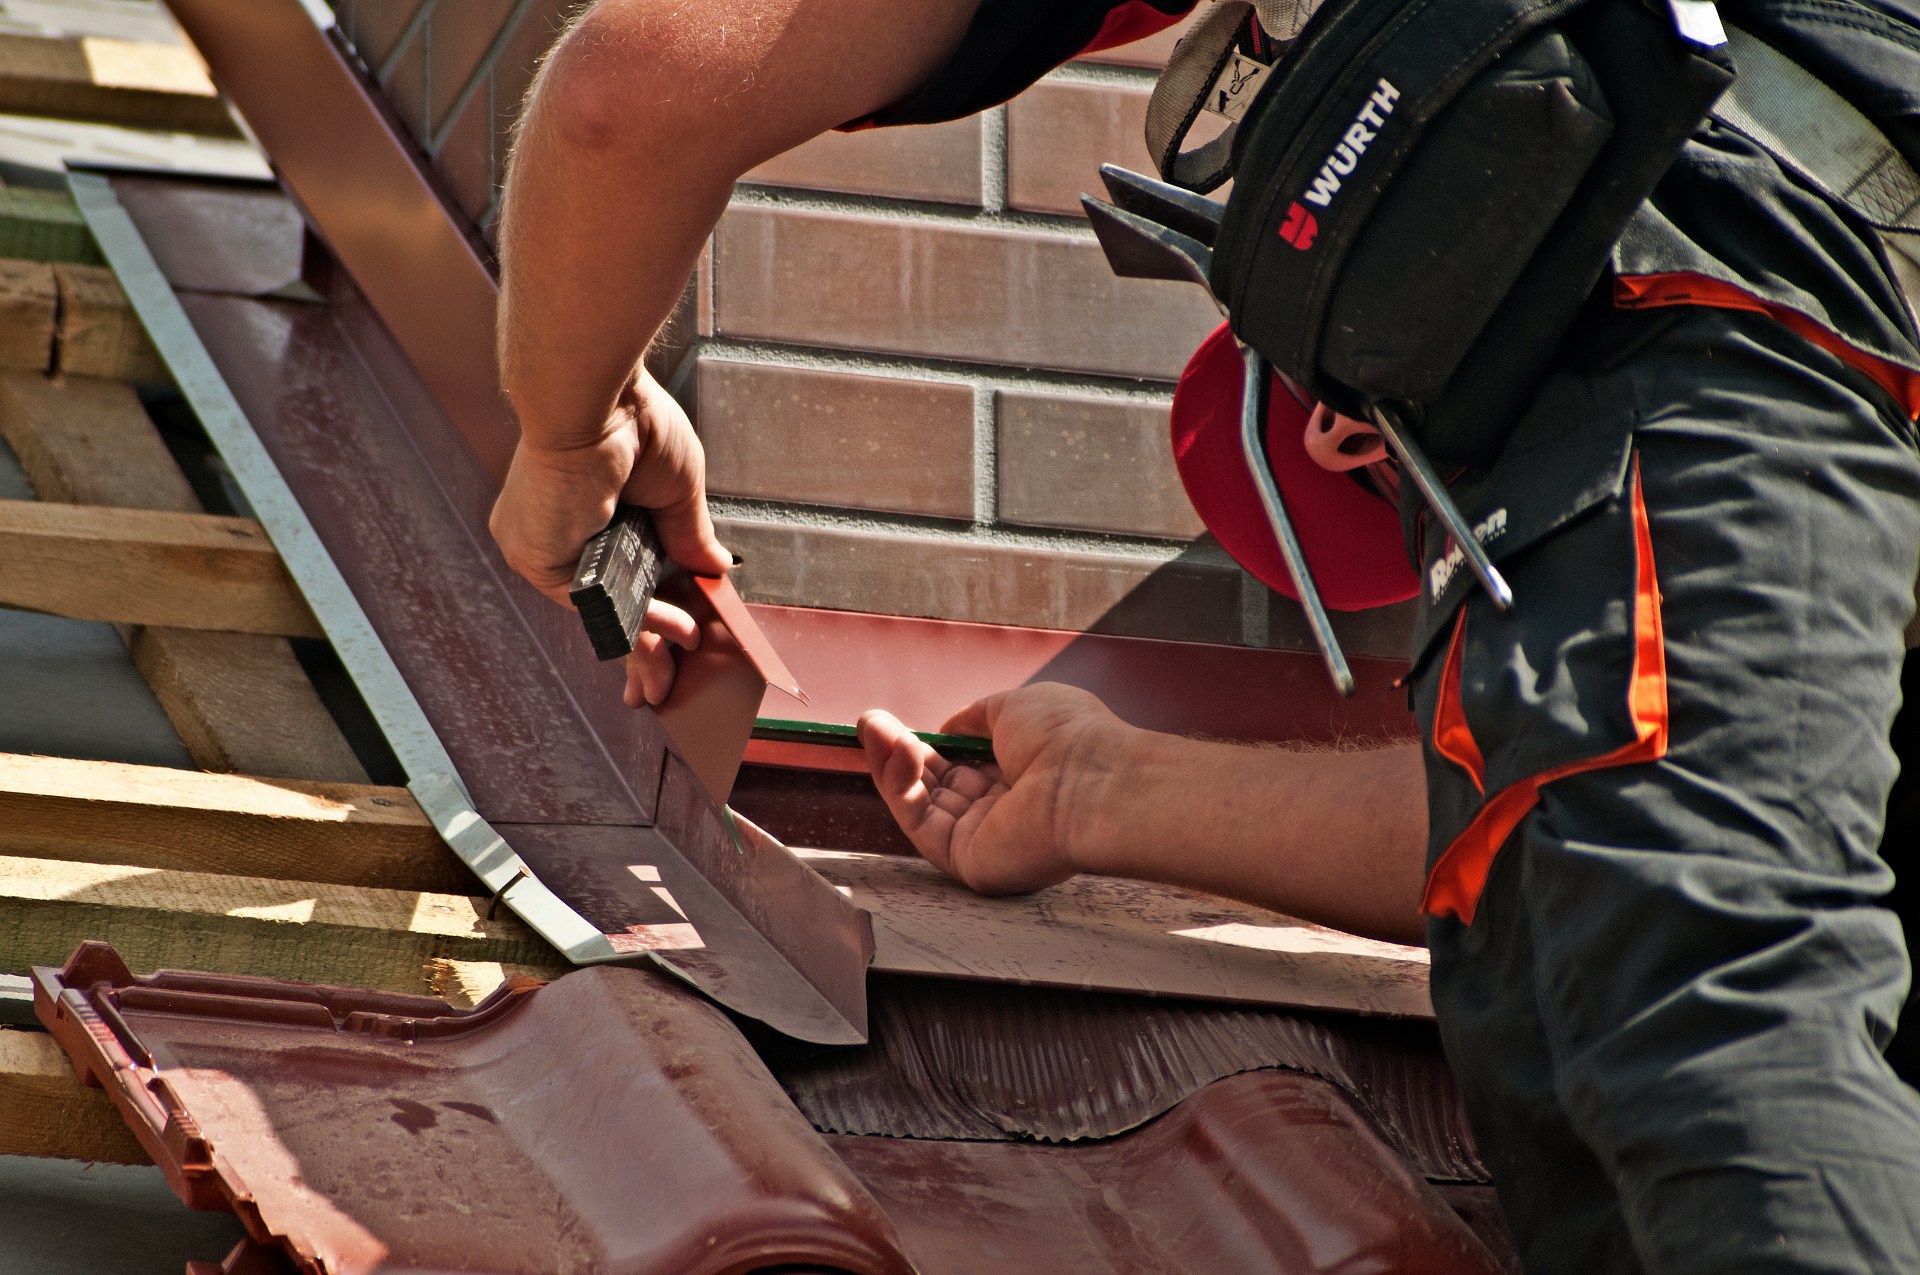
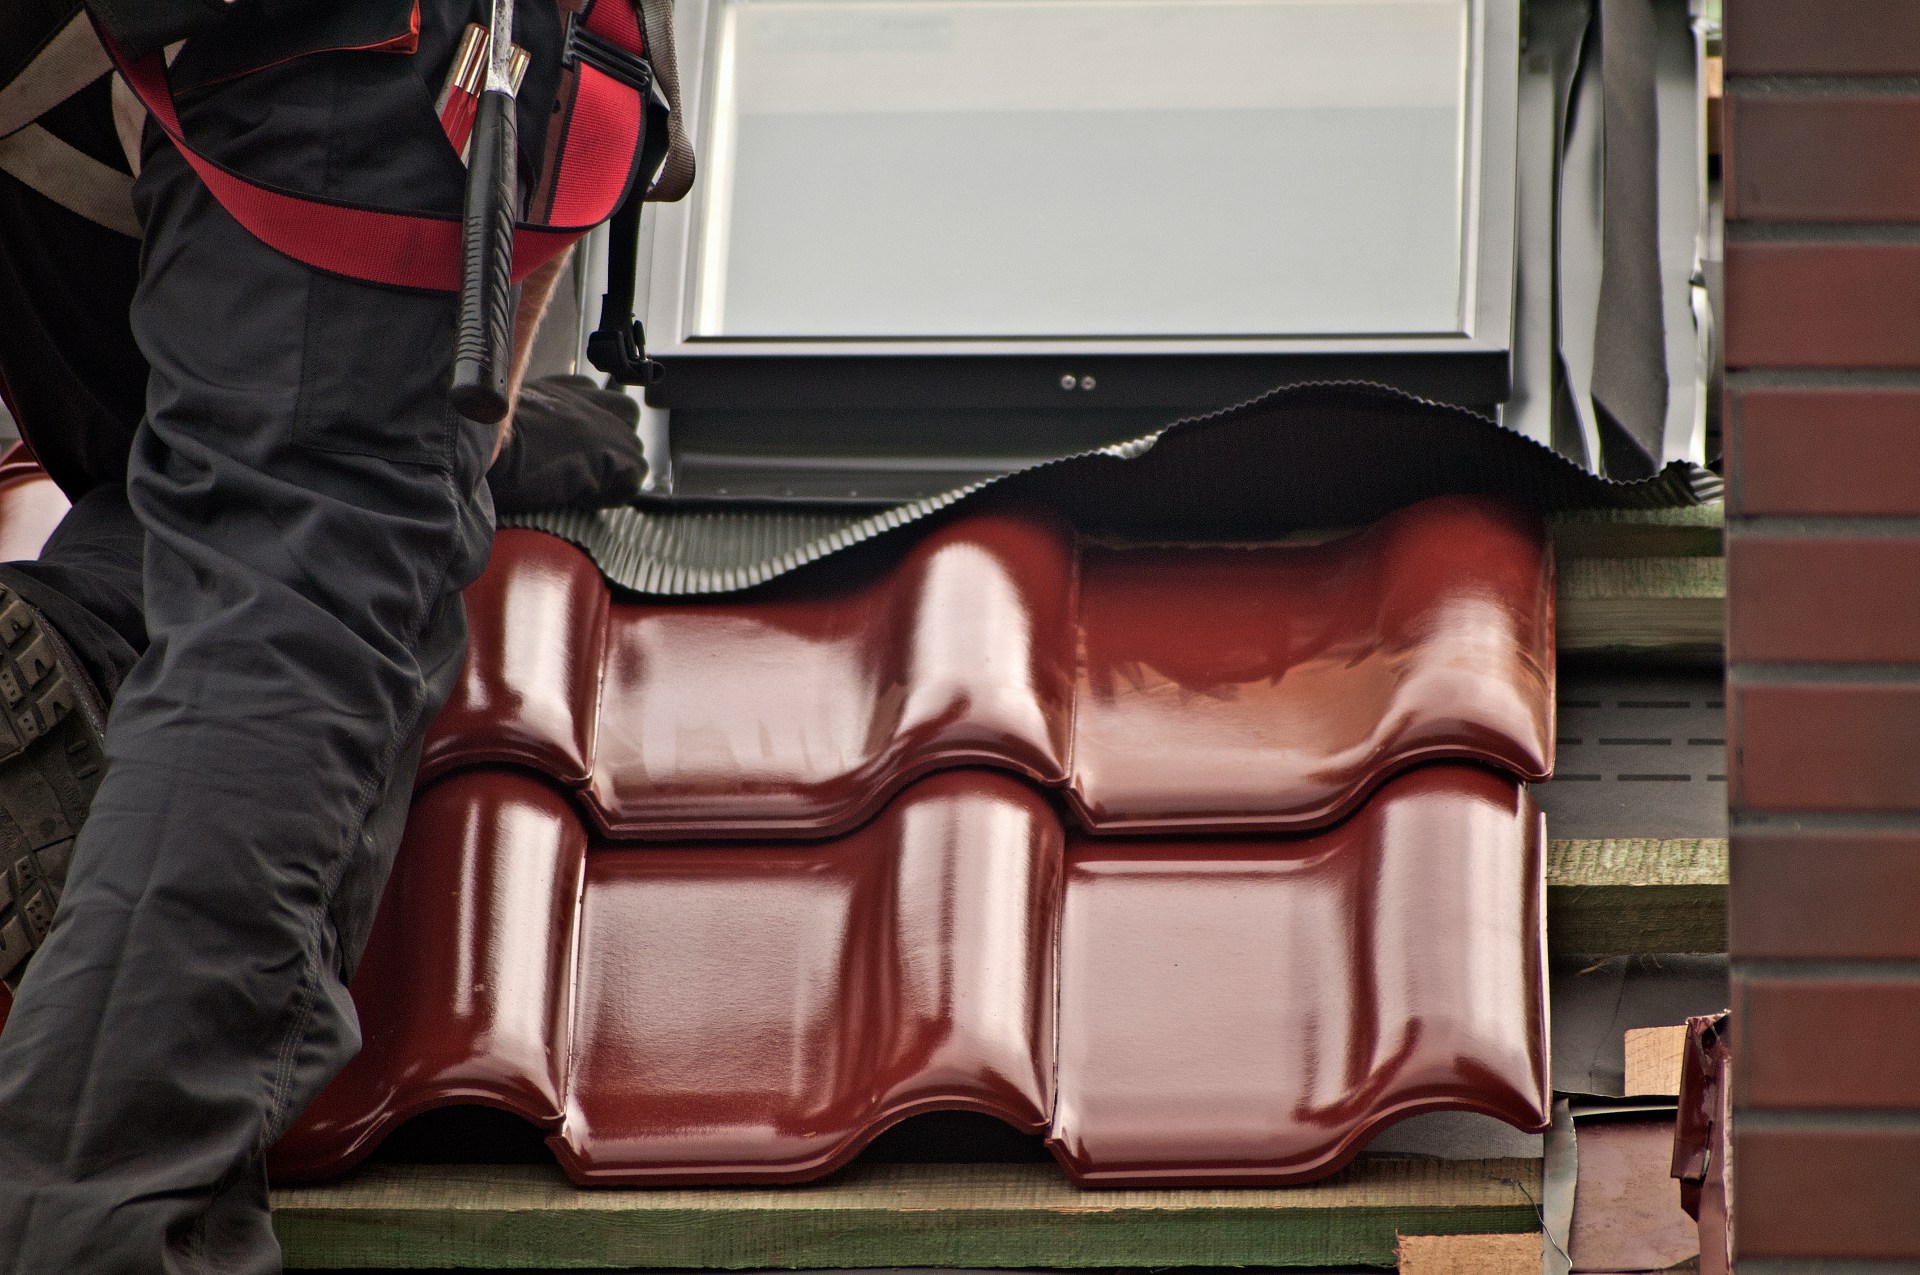
The outermost rooftiles also need to be fixed to patches, using bolts, for example. In places such as valleys, chimneys or areas around slope windows, where cutting is required, the tiles must be cut in a way preventing dust from getting under the tile or on it, as it is difficult to remove, especially when not removed immediately. If a roofing foil is used on a roof, dust can clog its pores and cause the membrane to lose its vapor permeability.
That is why cutting is best done away from the slope. When installing roof tiles, appropriate roofing accessories’ arrangements must be made, including ventilation tiles, which are essential for the circulation of air below the roof. The number and distribution of ventilation tiles depends on the shape and dimensions of the roof. Most often they are placed in the third row below the ridge. In order to provide adequate ventilation, inlets and outlets must also be provided at the eaves and ridges. It is also important to install a ventilating and sealing tape on the ridge under the ridge tiles. The ridge tiles themselves are fixed using special clamps and bolted to the ridge.