Roof battening
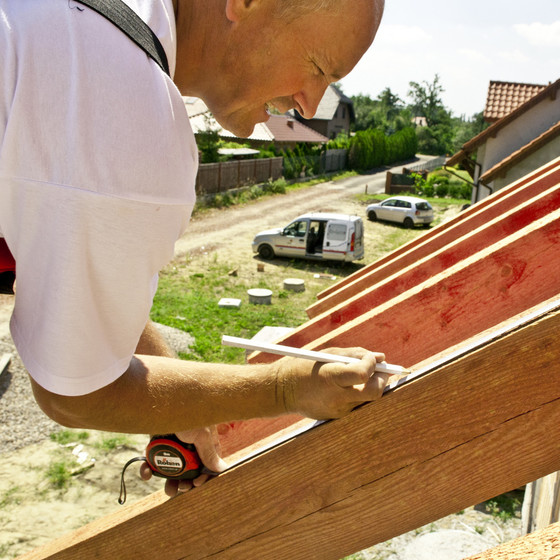
A specialist tool kit is required for roofing and flashing works. It is used for works associated with measuring, cutting, making and the installation of flashings.
It is best to use the tools manufactured by proven producers. Buying such equipment is not a small expense, but it is really worth investing. We will be able to focus our entire attention on the work and will not have to file complaints to producers, which will definitely disorganize the work and most importantly – it takes a lot of precious time.
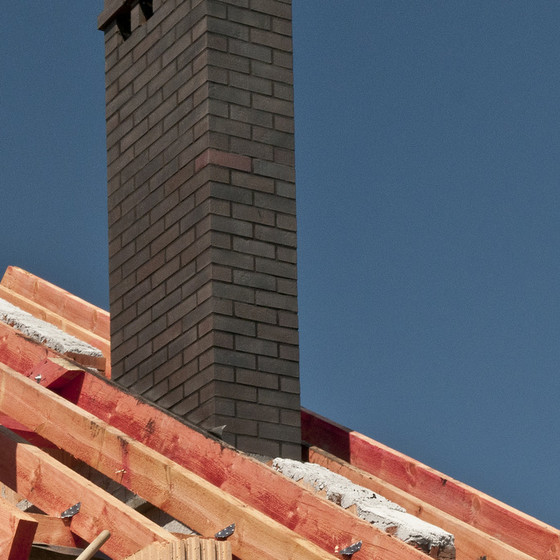
If we have a possibility to check it, then when buying battens and counter-battens, we should verify whether they are clamped minimum in three places, if not – you have to take into account the fact that we will devote more time to roofing due to the need to straighten the battens. Before starting the roofing works, check the roof truss and roof geometry. In the case of unevenness of the rafter plane, it should be leveled.
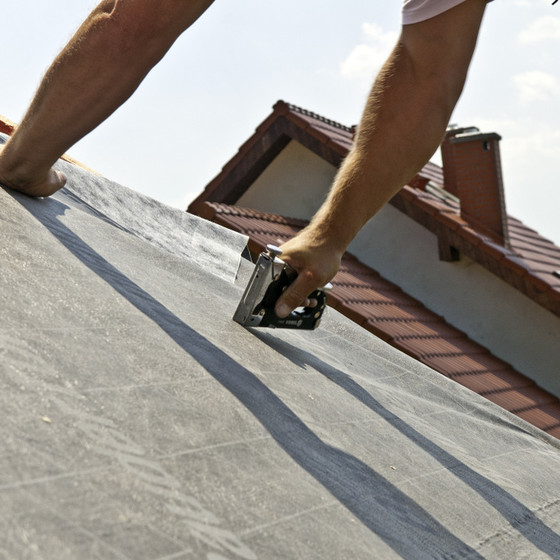
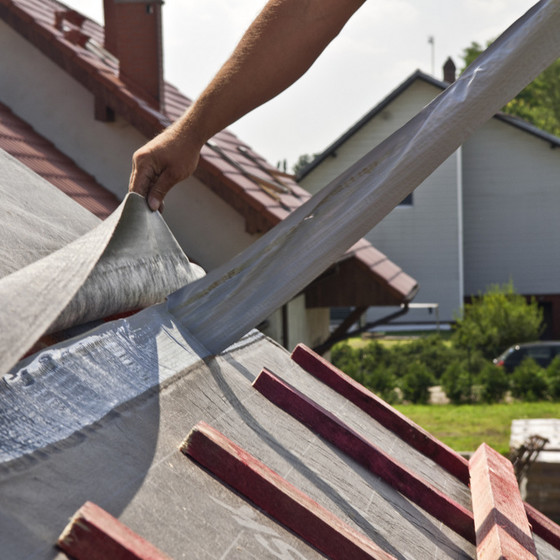
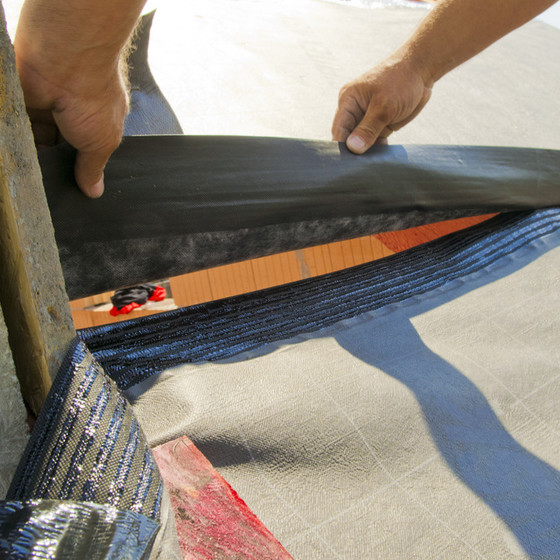
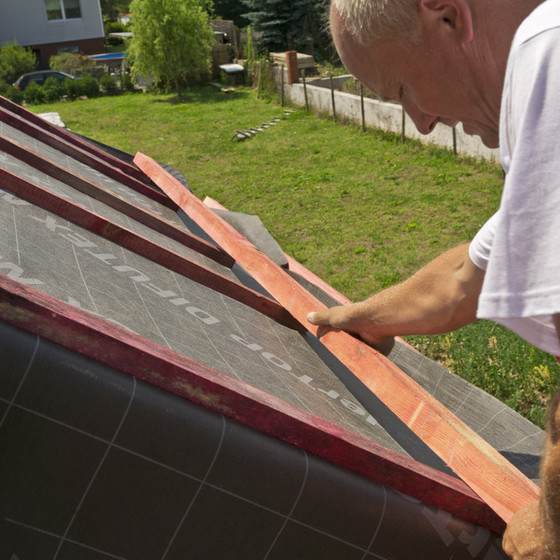
It is also necessary to adjust the differences in the length of the roof batten horizontally and after a slope. This will allow to check the quality of the carpentry and avoid many unpleasant surprises during work. The next step is the tightening of the vapor permeable membrane. We put the membrane with overlap, along the designated line. A 15 cm wide overlap is recommended. It is best to use branded, high-quality vapor-permeable membranes. The higher the vapor-permeability and strength – the better the product. After tight mounting of the membrane, we fix the counter-battens. It is recommended to use battens and contra-battens of the same thickness – approximately 40x60cm. We save the material and thus contribute to the protection of the environment. Contra-battens must connect in the ridge part. We lay them with overlap, or cut them diagonally vertically.
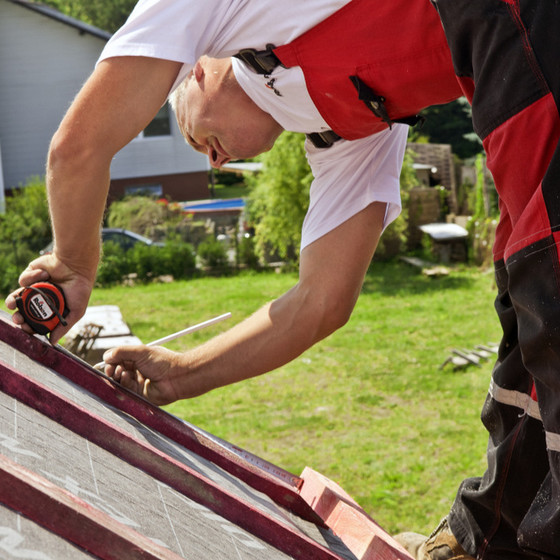
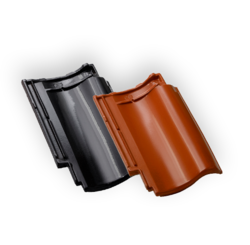
To determine the average spacing of battens, we lay a double row of 12 tiles on an even surface. We put them with the front side down vertically on the slip and sliding, so that the front overlaps one another. We add the dimensions on slip and sliding between the first and last tile and divide by 20. The average size of the spacing of battens is 36.6 cm. The maximum tolerance of the spacing is + - 3mm. Therefore, spacing of battens from approximately 36.3 mm to 36.9 mm can be used – the data refer to Fleming tiles, the spacing of the battens in the case of MONZAPlus roof tiles and Bornholm or Piedmont tiles will be different.
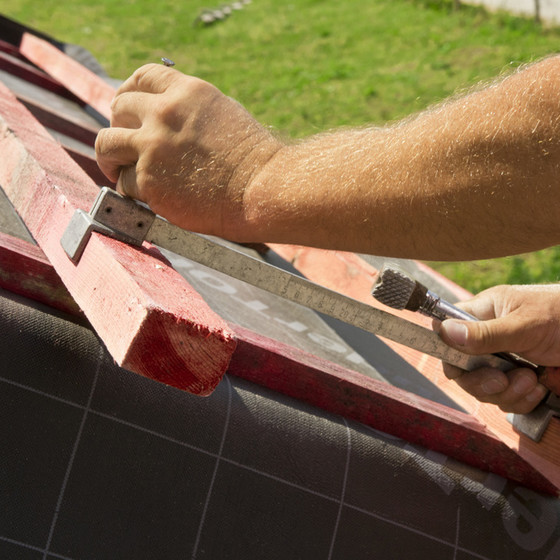
Next, we mark the place of fixing the ridge batten on the extreme counter-battens. The distance between this batten from the tip point to the beginning depends on the angle of inclination of the roof and should be approximately 4 cm. It is recommended to mark out the first batten from the eaves on which the first tile will be laid. Next battens are fixed according to the determined spacing of battens previously marked out, and the spacing should be checked by means of a device called a batten gauge.