Building a clinker fence step by step
A fence made of planks or a wire mesh is not an optimal solution for planning the area around the house. Once the construction of the object is completed and investors catch a financial breath, it is worth to think about a spectacular brick fence.


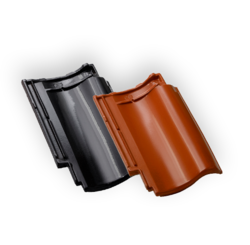
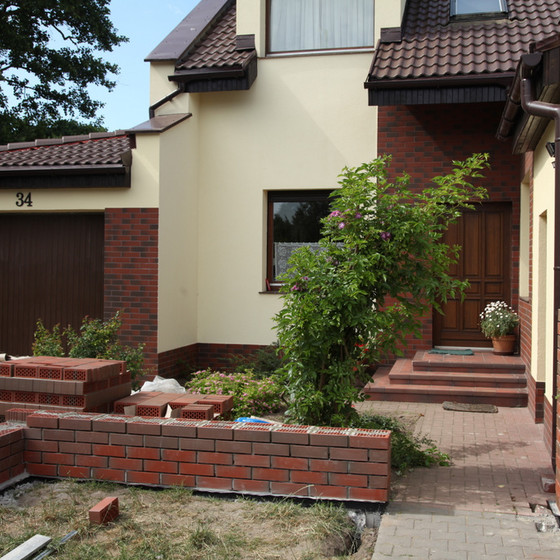
A fence made of bricks will not only provide greater security, but will also be an aesthetic complement to the property. The use of clinker is an additional guarantee of durability, because it is a material that does not absorb water and is resistant to harsh weather conditions, such as frost or rain. A clinker fence will not require any maintenance for many years. Of course, provided that it will be professionally made. How to do it?
Foundations
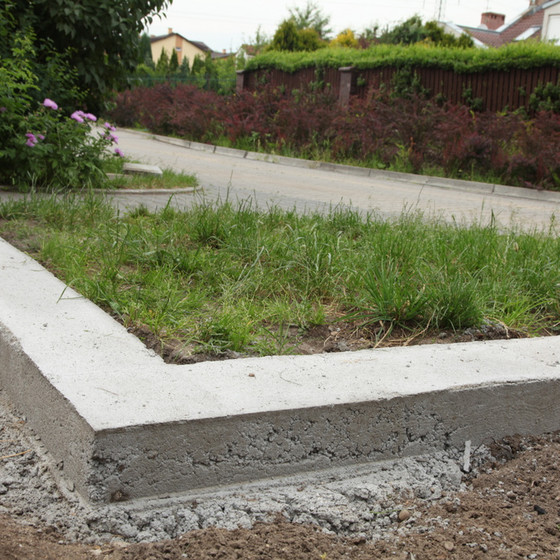
Before starting works, the contractor must prepare the layout of the fence in the field. Then you can start pouring the foundation footing. A foundation for the clinker fence should be relatively deep. Its dimensions depend on the geographical location of the plot and the type of land. On swelling soils, i.e., ones that increase the volume under the influence of freezing water, it is recommended to place foundations below the freezing point. Depending on the region of the country, it will be approximately 80 cm to approximately 140 cm below the surface of the ground. On shrinking soils, it is enough to place the foundation at a depth of approximately 60 cm. Usually, it is assumed that the width of the foundation should be the same as the thickness of the wall.
When pouring concrete, do not forget about expansion joints, i.e. narrow gaps filled with tar.
Horizontal insulation and the laying of the first bricks
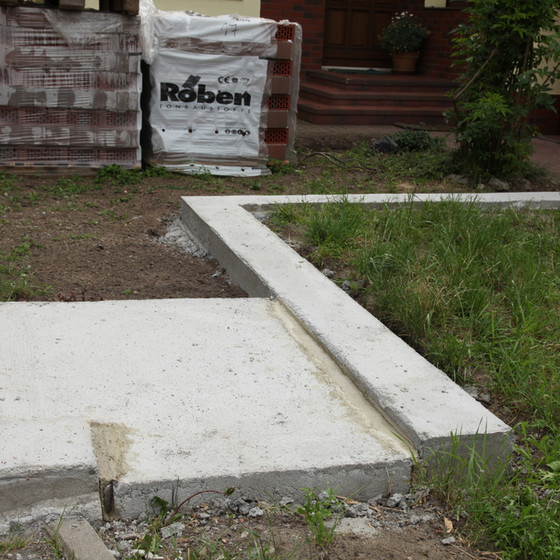
In order to guarantee protection against moisture coming from the ground, and thus to prevent erosion and destruction of the fence, it is necessary to make horizontal insulation from tar or bituminous strips on the foundation before bricklaying.
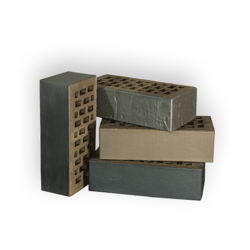
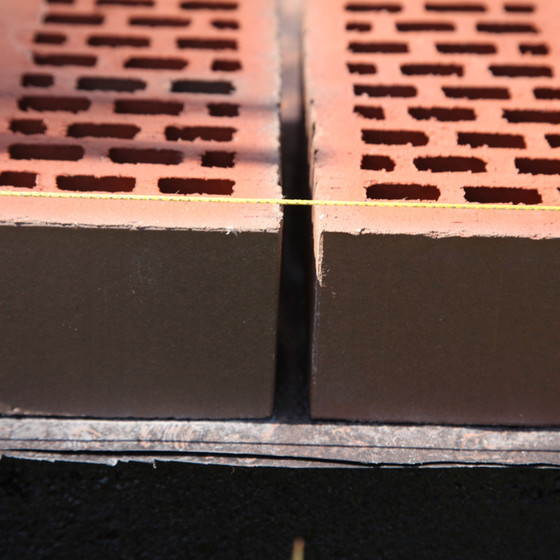
The first bricks are laid on the horizontal insulation usually in the corners, then the spaces between them are filled. When bricklaying a fence, as in the case of façades, you should mix bricks from different pallets. The brick is a natural product and its color depends on the mineral composition of the clay, therefore the shades of individual parts of clinker may slightly differ from each other. This is a typical phenomenon that occurs at all manufacturers of ceramic building materials. The limits of acceptable color differences are set by building standards, justifying it by the specificity of the technological process and the properties of clay. Mixing bricks from several pallets makes the differences imperceptible.
Proper mortar and protection against moisture will help prevent streaks
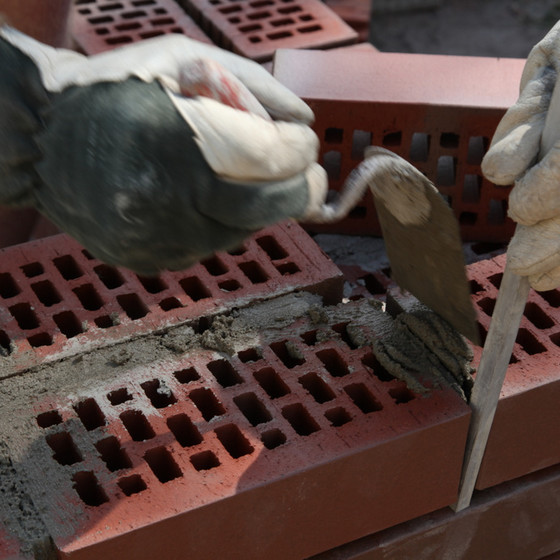
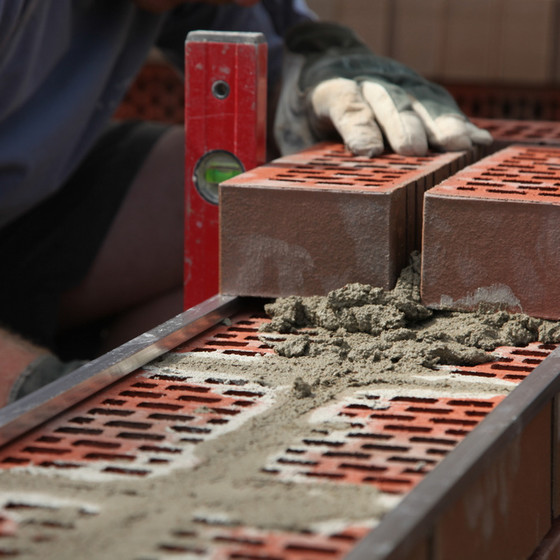
When building a fence, it is also important to use appropriate mortar that is specially designed for clinker. The mortar should be prepared strictly according to the manufacturer's instructions. The most important is the right consistency, that is the right proportion of dry mortar and water. The use of unsuitable mortar, especially containing lime, can lead to the formation of streaks. If, in addition, the joints are not made properly and water gets inside the wall, the salts contained in the mortar will dissolve. The water along with the salts moves with microscopic capillaries outside the wall. There, the water evaporates and the chemical compounds dissolved in it remain on the bricks surface in the form of unaesthetic white stains. A very important factor that will help to avoid streaks is the protection against moisture, both before bricklaying and during works. Due to the bonding process of the mortar, the bricks should not get wet on the construction site. Placing bricks on pallets will protect them against the ground water. The clinker should be covered with a construction foil from the top, which will prevent the bricks from getting wet during rain.
Spans
A fence can be entirely made of bricks or it can be made from the combination of clinker elements with, for instance, wooden inserts. One of the most popular solutions is the installation of metal spans between clinker posts. The spans should be assembled in accordance with the manufacturer's instructions, usually using wall plugs or bricklaying them using appropriate mortar. The assembly of metal spans should take place on the joints, which will allow thermal expansion. As a consequence, the resulting stresses will not be transferred to the posts, which could cause joint breakage and even damage the clinker. The so-called roll is made under the spans, which involves arranging bricks in such a way so that only the headers can be seen on the outer part of the wall – and not stretchers, as it traditionally occurs. In places most susceptible to water penetration, it is necessary to use full brick. You can also use shaped bricks for finishing.
Posts
After building the outer layer of a clinker post, the empty space inside is reinforced with rods and filled with concrete of the same consistency as clinker mortar. The posts may be finished at the top with shaped bricks or prefabricated caps, i.e. finished building elements made of clinker bricks and a concrete supporting core. It is not only an aesthetic finish, but also a protective element. The caps have the shape of a cone, so the rainwater flows down quickly. Owing to the effective removal of moisture, they prevent the moisture from getting into the joints of the posts and the formation of streaks. The caps are applied using flexible adhesive.
Grouting
After laying the bricks, wait before starting the last stage of work, which is grouting. At that time, the top layer of the fence should be protected against water from precipitation. Only a professional who deals with bricklaying clinker can decide when to start grouting, as it depends on various factors, including the moisture content of the wall and weather conditions. The grouting should be done using a special clinker joint, which is prepared in accordance with the manufacturer's instructions, ensuring that it is not too wet.
It is recommended to use full joints. It is allowed to make a convex or concave joint, provided that its edges are in contact with the edge of bricks.
It is not recommended to use empty or sunken joints, as water will accumulate in unfilled places. It is not advisable to perform grouting during unfavorable weather conditions, especially in the case of rain and temperatures below 5°C.
After finishing bricklaying works
After the construction is finished, the fence should be additionally protected for at least 7 days, when the initial concrete bonding process takes place and the chemicals in the mortar are absorbed. The full mortar bonding process lasts 4 weeks. At that time, the wall should be protected against rainwater and excessive sunlight, especially above 30°C. Making a brick fence is often connected with the fixing of a gate, so it is worth to add that a sliding gate should be installed independent of the fence, because dynamic loads that occur when moving the gate cause stresses that can lead to cracking of joints and bricks. At the end of the work at the fence, it is recommended to surround the space around it with a gravel trim.